Grapevine Learning allows you to charge for your enrollments. We use Stripe to handle all of our credit card transactions, so you will need a Stripe account and then you will need to connect your learning site to your Stripe account.
Stripe Fees
Stripe has a simple pricing model, taking a relatively small fee for each transaction, a standard practice in the credit card processing industry. You can read more about the Stripe credit card processing fee structure on their website.
Grapevine Learning Fee Structure
There are three different ways that you can use Grapevine Learning for your courses:
- Free. If you make your courses free and available for anyone to enroll, you can use Grapevine Learning for free. Grapevine Learning will not charge you, nor your students for any course where the course content is freely available to anyone on the internet.
- $5 per enrollment, charged to each student. When you charge a fee for your course and set your Enrollment Type for the course to “Anyone”, this will allow students to sign up for your course, paying with a credit card to access your course content. When the student completes the online credit card transaction, a $5 fee will automatically be taken from the transaction and deposited to Grapevine Learning. The details of doing this are covered below.
- $5 per enrollment, charged to your credit card. This feature is available when you have put a credit card on file with Grapevine Learning. When you charge a fee for your course and set your Enrollment Type for the course to “Manual”, instructors in the course or an administrator on your site will be able to enroll students in the course manually. Each day, the system will then charge the credit card on file $5 for each student enrolled. The details of doing this will be covered in a separate post.
Getting Started
Before you will be able to enter a price for your course, you will be required to connect your learning site to your Stripe account. Connecting your site to your Stripe account will allow you to begin processing credit card transactions. Click on the Edit button for the course where you would like to charge for access to your course and a modal will display. Within the modal, you will see a button that says Connect with Stripe. It will look like this within the Price area:

If you have a Stripe account already
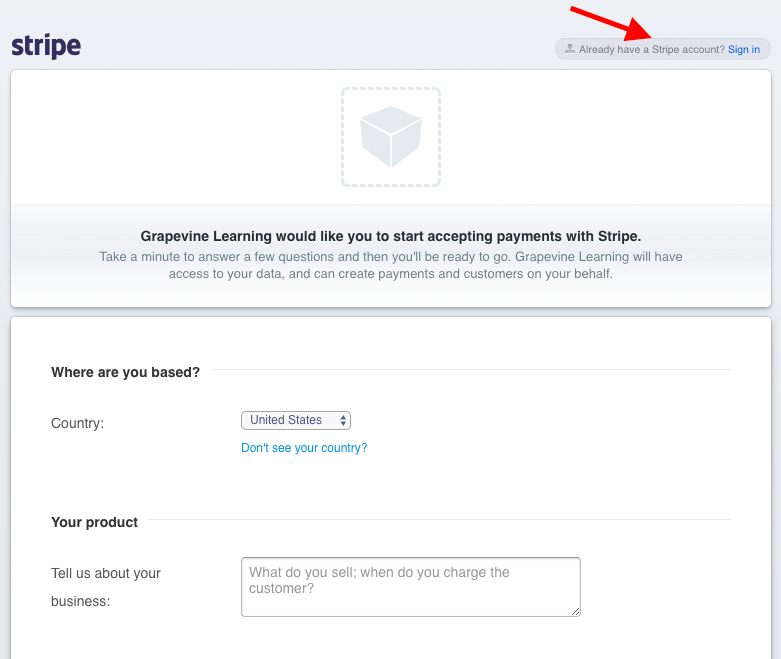
When you click the button, you will be taken to the Stripe site. If you already have an account, you can log in to identify your account. Click the Sign in link.
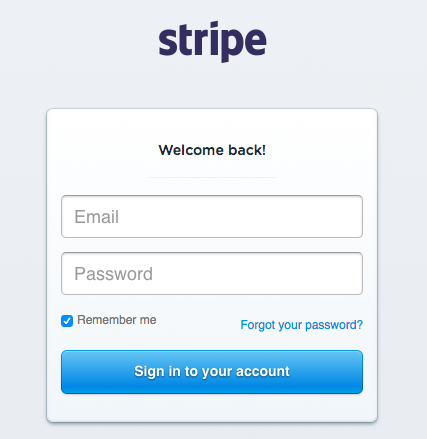
And then enter your login information for your Stripe account.
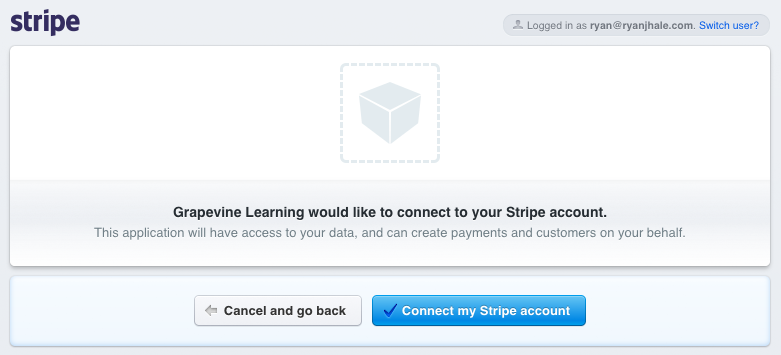
Now that Stripe knows who you are, you can approve the link with your Grapevine Learning site.
If you do not yet have a Stripe account
If you do not already have an account, you can create a new account on the page that is displayed. You will need to enter information related to you, your organization, your bank (for transfers of your funds to your bank account), and some other general information.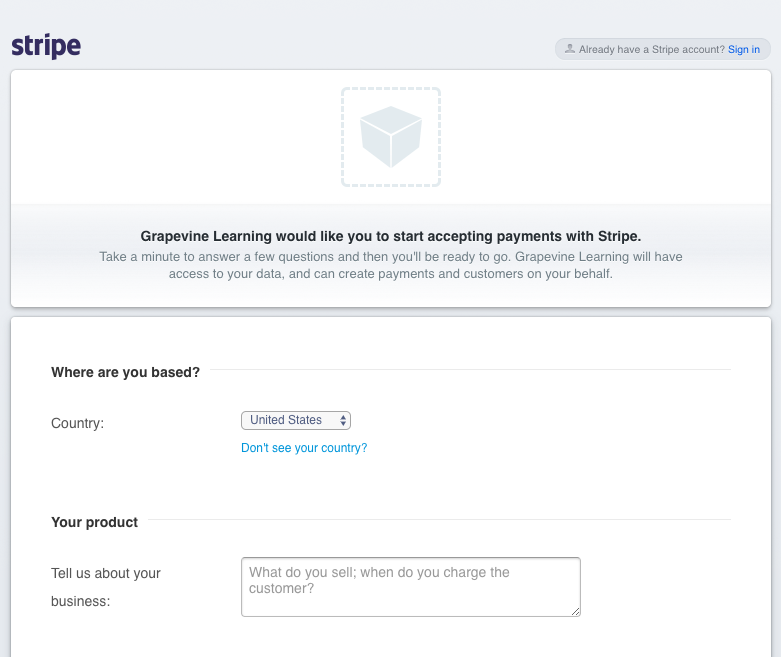
At the bottom of the account creation page, you will be able to approve access to your Stripe account:
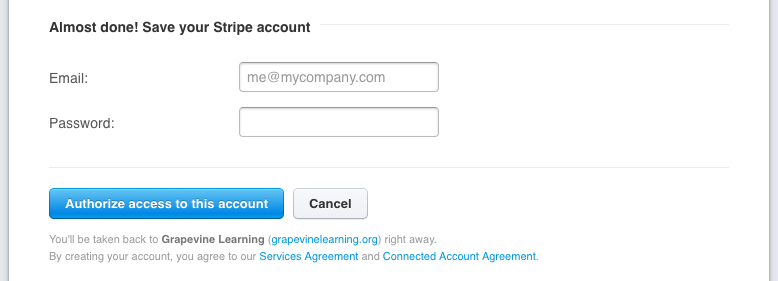
Once you have successfully approved the connection, you will be redirected back to your course and now, instead of seeing the Connect to Stripe button, you will be able to enter a price into the Price field. Students will now be charged the fee that you have entered to access your course.

Security
Grapevine Learning does not store any credit card information, neither for you as the owner of the site, nor for any of your students. Instead, each time a credit card transaction is attempted, a code is created by Stripe that represents the card and that code is used to represent the card in the transaction. Grapevine Learning stores the code that represents the card for site owners, but that code can only be decrypted and understood by Stripe. You can learn more about e-commerce and credit card security on the Stripe website:


