How to Create and Enroll a Student in a Course
If you have been given the ability to create user accounts within your course, you can create a new user before enrolling them in your course. You do this by following these steps:
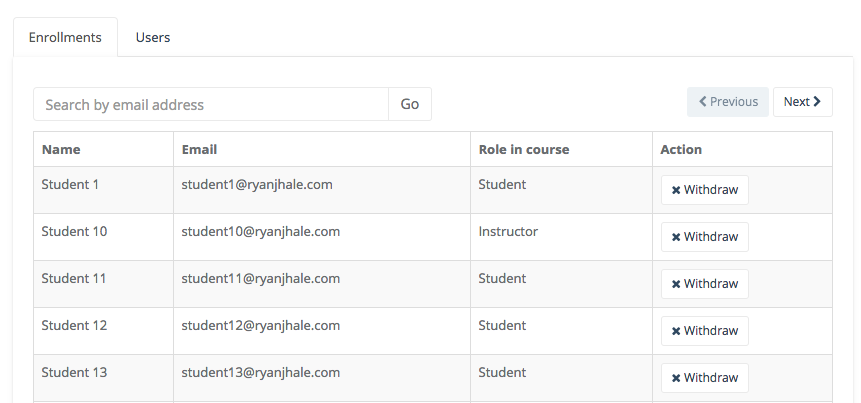
- Click on the Enrollments button within your course.
- Click on the Users tab
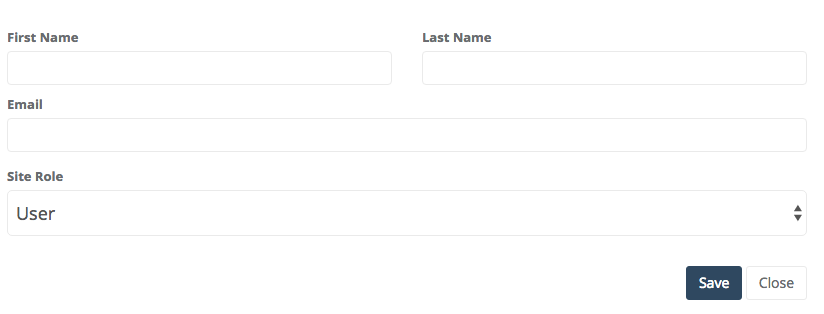
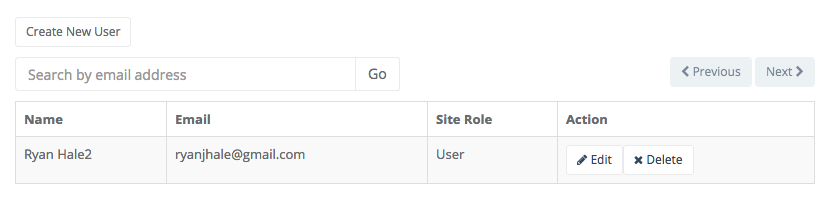
- Click the Create New User button
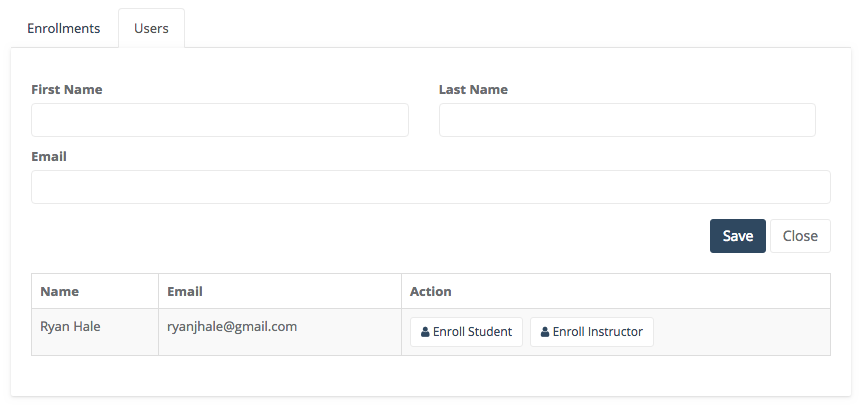
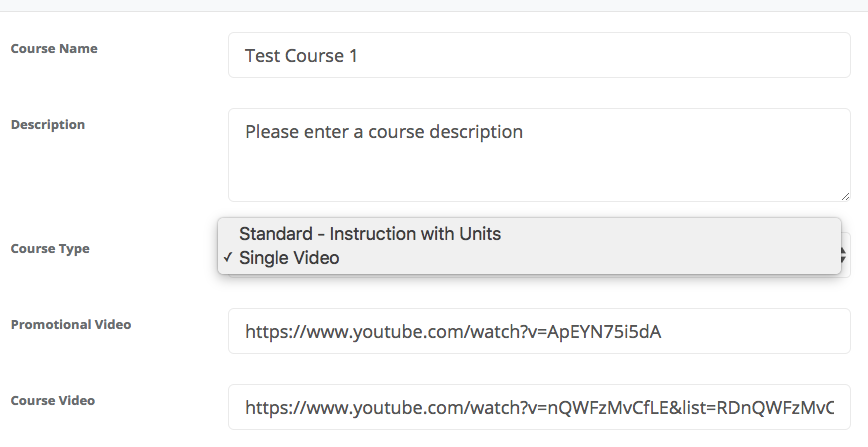
- Enter the user’s first name, last name, and email address.
- Click Save.
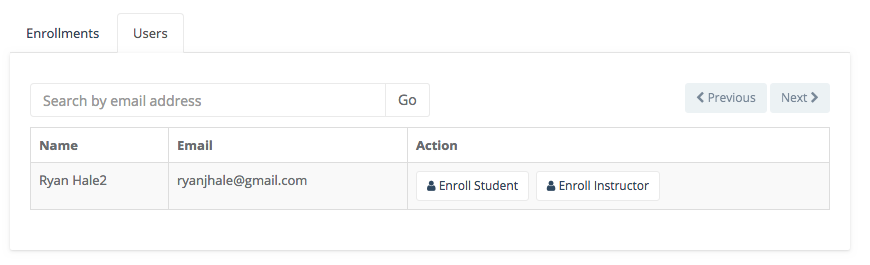
- Find the user that you just created and click Enroll Student.
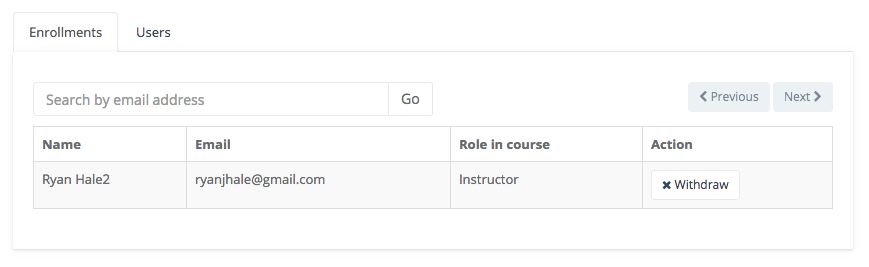
The new user will receive two emails. The first email will contain their new login information. They will receive the second as an enrollment confirmation once you enroll them in the course as a student.
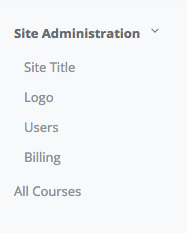
 There is now an option to allow you to see only the courses where you are enrolled. To use this option, follow these instructions: